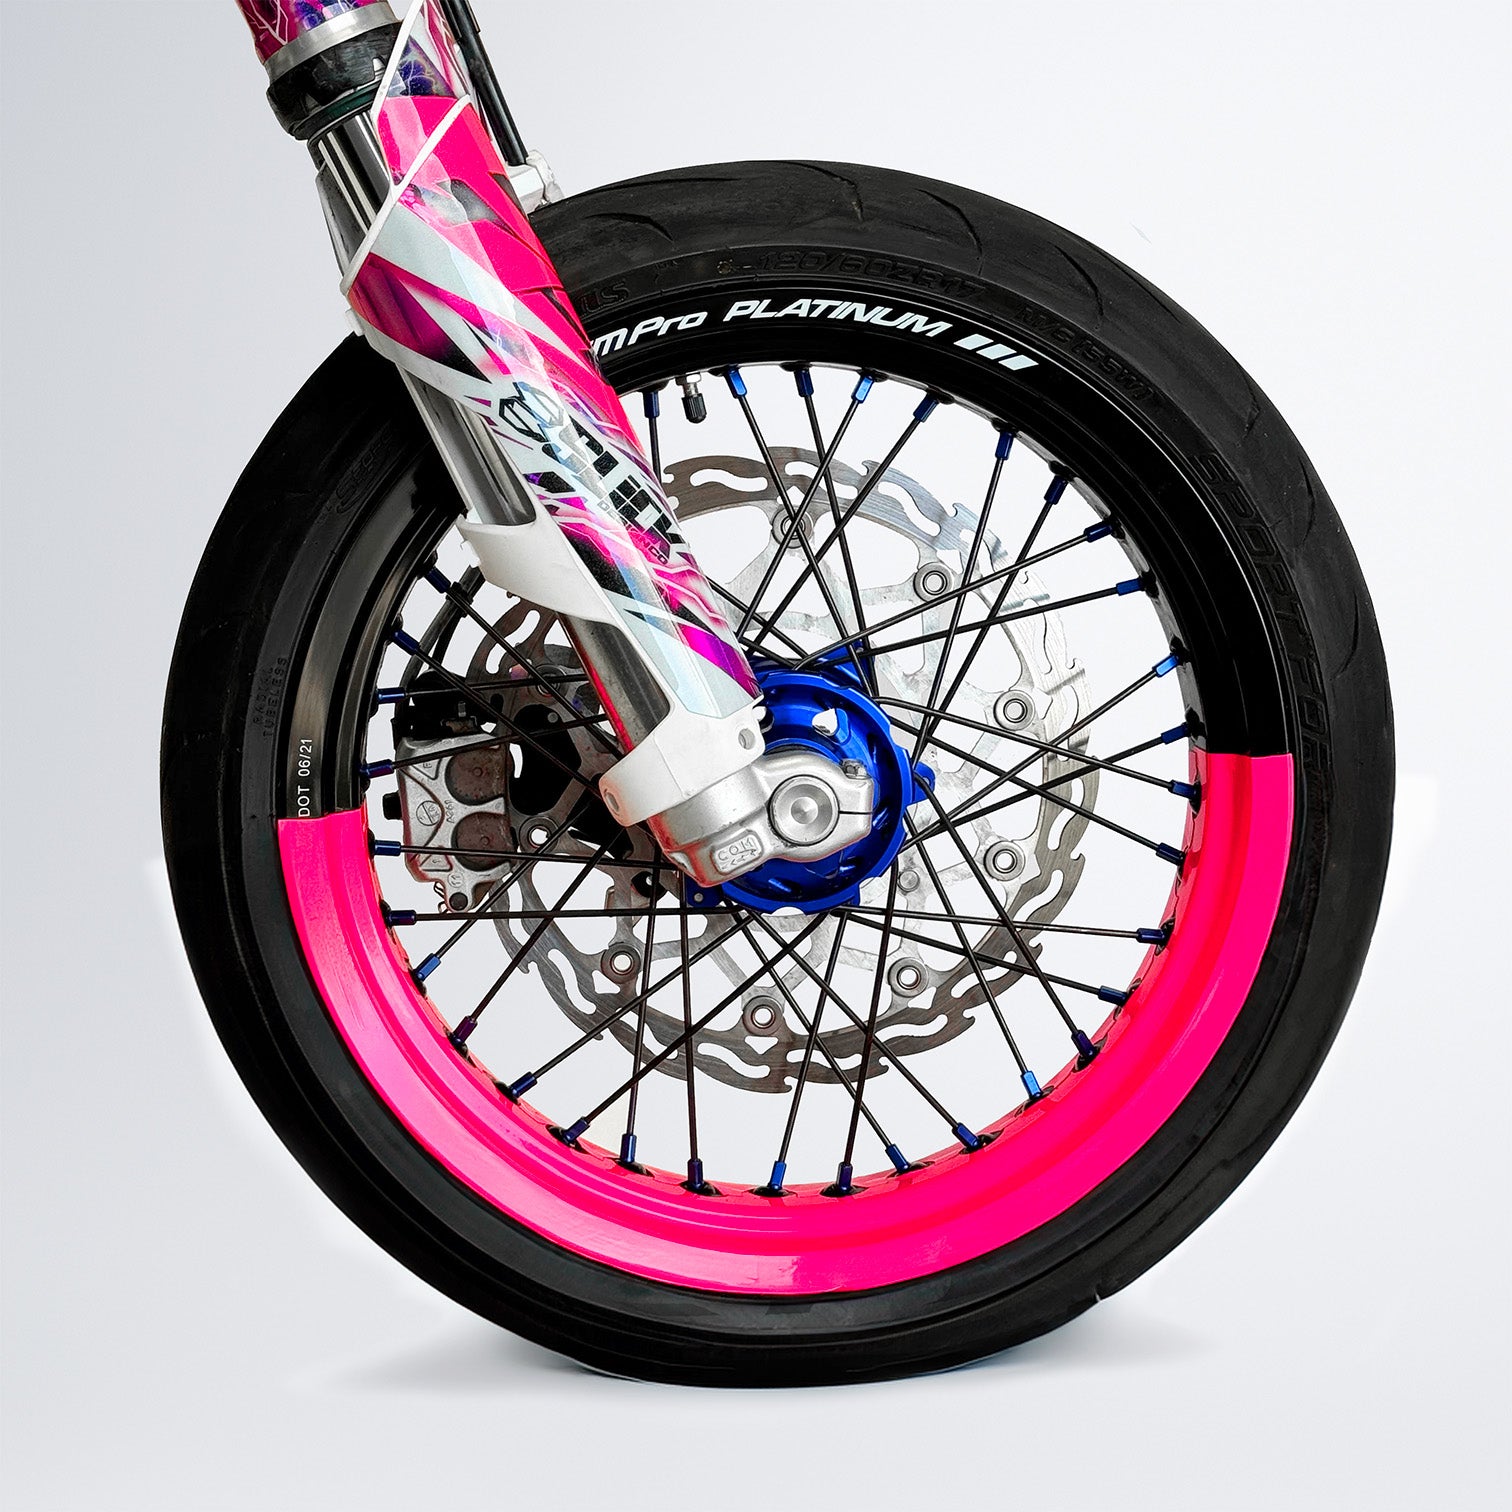

50/50 Supermoto Wheel Graphics
✓ Ordered before 23:00, shipped out within 2-3 working days

How to Apply Wheel Graphics
How to Apply Wheel Graphics🔥
Step 1: Clean your rim thoroughly with brake cleaner. 🧼
Step 2: Position the wheel graphic around the spokes. Don’t worry; you can peel it off and reposition it as many times as you need. Make sure to outline it properly! 🔄
Step 3: Grab a hairdryer and warm up the wheel graphics. As you heat it, gently press the graphics down evenly with the heat. 🔥
Step 4: Once you reach the edge, press the wheel graphics slightly into the rim's edge for a snug fit. 👌
Step 5: Use a knife to trim along the edge of the rim for a clean finish after pressing it in. 🔪
Step 6: Press down the wheel graphics again with plenty of heat (but not too hot to avoid burning). Make sure it’s hot enough to adhere properly! 💨
And you're done! Enjoy your fresh new look! 🎉
Production & Shipping Time
WHEEL, FMF & OTHER GRAPHICS✨
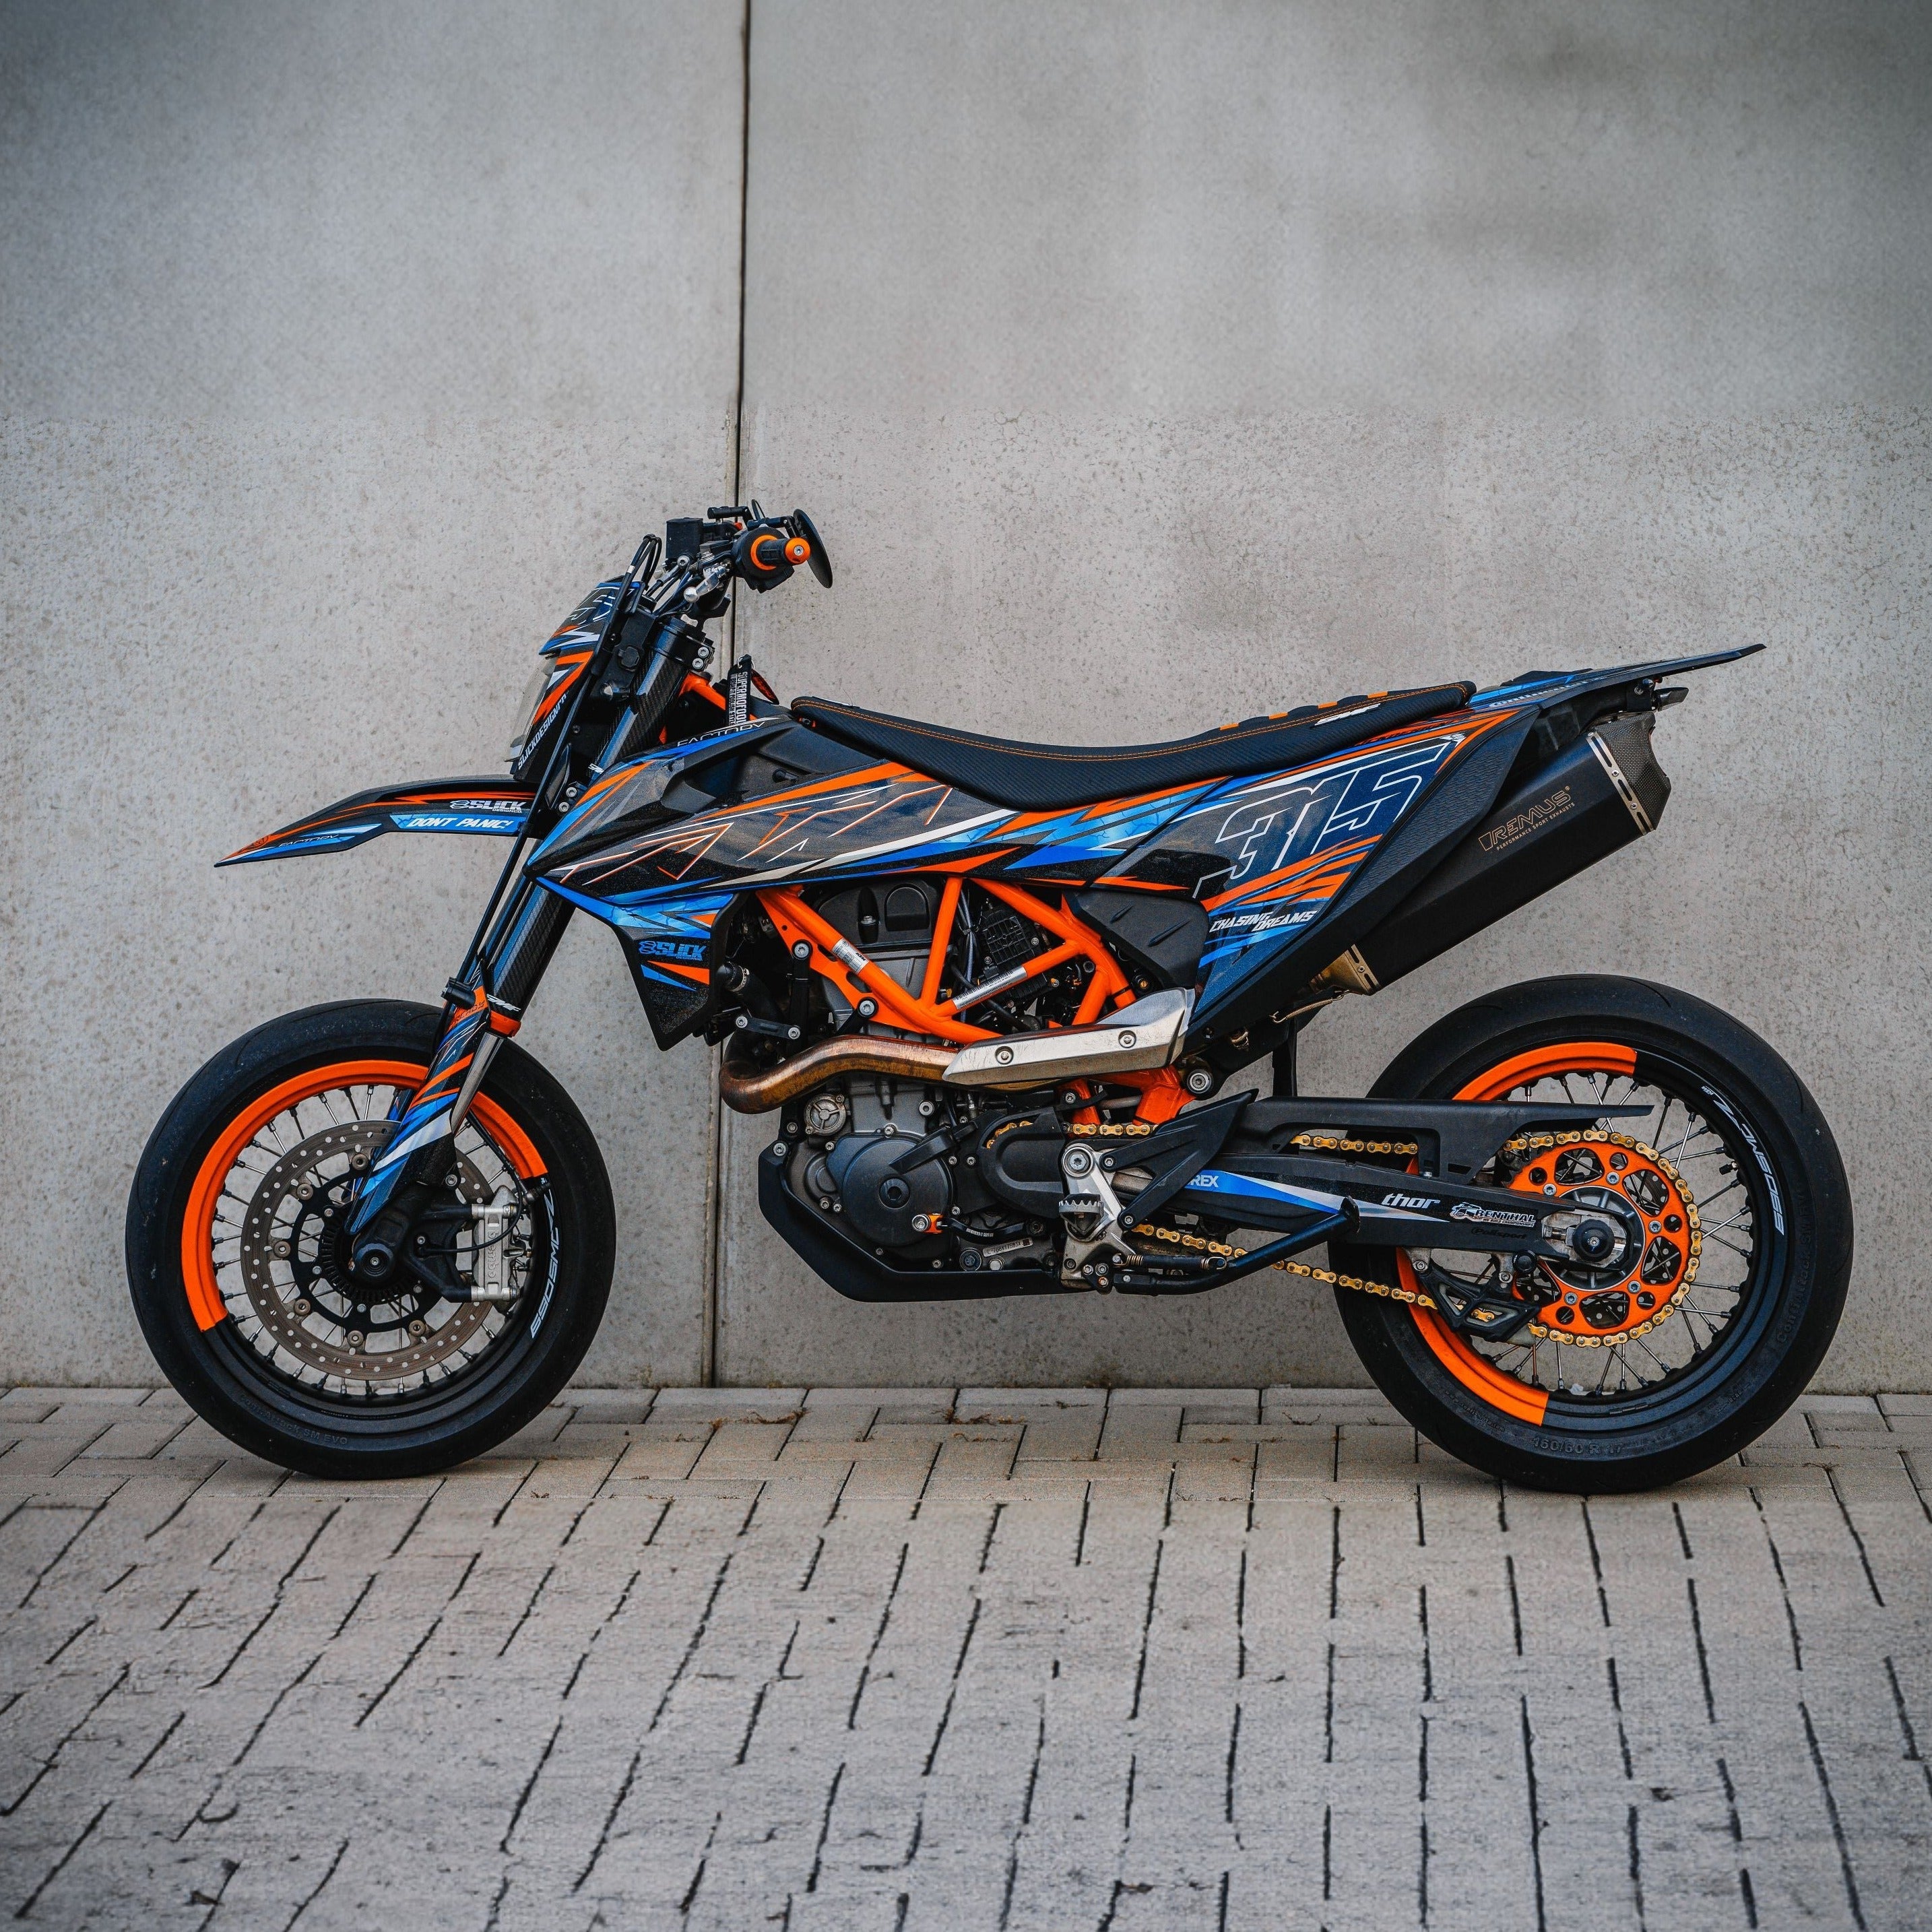
Once you place your order, you can expect a production time of usually 1 week for our WHEEL, FMF & OTHER GRAPHICS. Designed to enhance your bike's aesthetics and performance, these graphics provide a unique touch that sets your motorcycle apart.
Elevate your ride with graphics that combine style and durability, tailored to meet your specific preferences.
Shipping time is estimated to be 1-5 days, depending on your location. Shipped from the Netherlands.
Note: Shipping outside the EU may take longer.
Materials
Experts in Visual Impact:
Chrome Effects
Ever catch a glimpse of a bike so radiant, it's etched in your memory? That's the power of our hand-applied chrome detailing. We meticulously insert chrome elements, logos, and patterns to give your ride a look that commands attention. It's not just aesthetic; it's a visual experience—a mirror-like finish that catches every eye.
Fluo Exclusives
Ordinary colors pale in comparison to our fluorescent graphics. Applied by hand because this level of vibrancy can't be printed, these neon hues add a new dimension to your ride. It's more than just color; it's an optical phenomenon that makes your bike the center of attention, be it on the track or on social media.
Slick Design
Slick Design specializes in creating standout, buzzworthy bikes. Don't follow the herd. Be exceptional.
Ready to journey into the extraordinary? Welcome to the Slick Design universe.
#SlickSquad

